Learn how to draw an almond step by step with this elementary drawing tutorial for schoolers and preschoolers.
Hello everyone! Welcome to a simple tutorial on how to draw an almond step by step. Almonds, one of the most famous nuts in the world. The nut is symbolized with faith in hope and good luck. The world exporter of almonds in the USA. They produce over a billion kilograms of crops per year on an area of 40,000 hectares. Also, almond milk is obtained from almonds, which is excellently used as a substitute for cow’s milk and is considered one of the most natural and best substitutes.
Drawing an almond does not have a high level of complexity and if you follow the step-by-step instructions and read the description, you can easily draw a nut.
Time needed: 30 minutes.
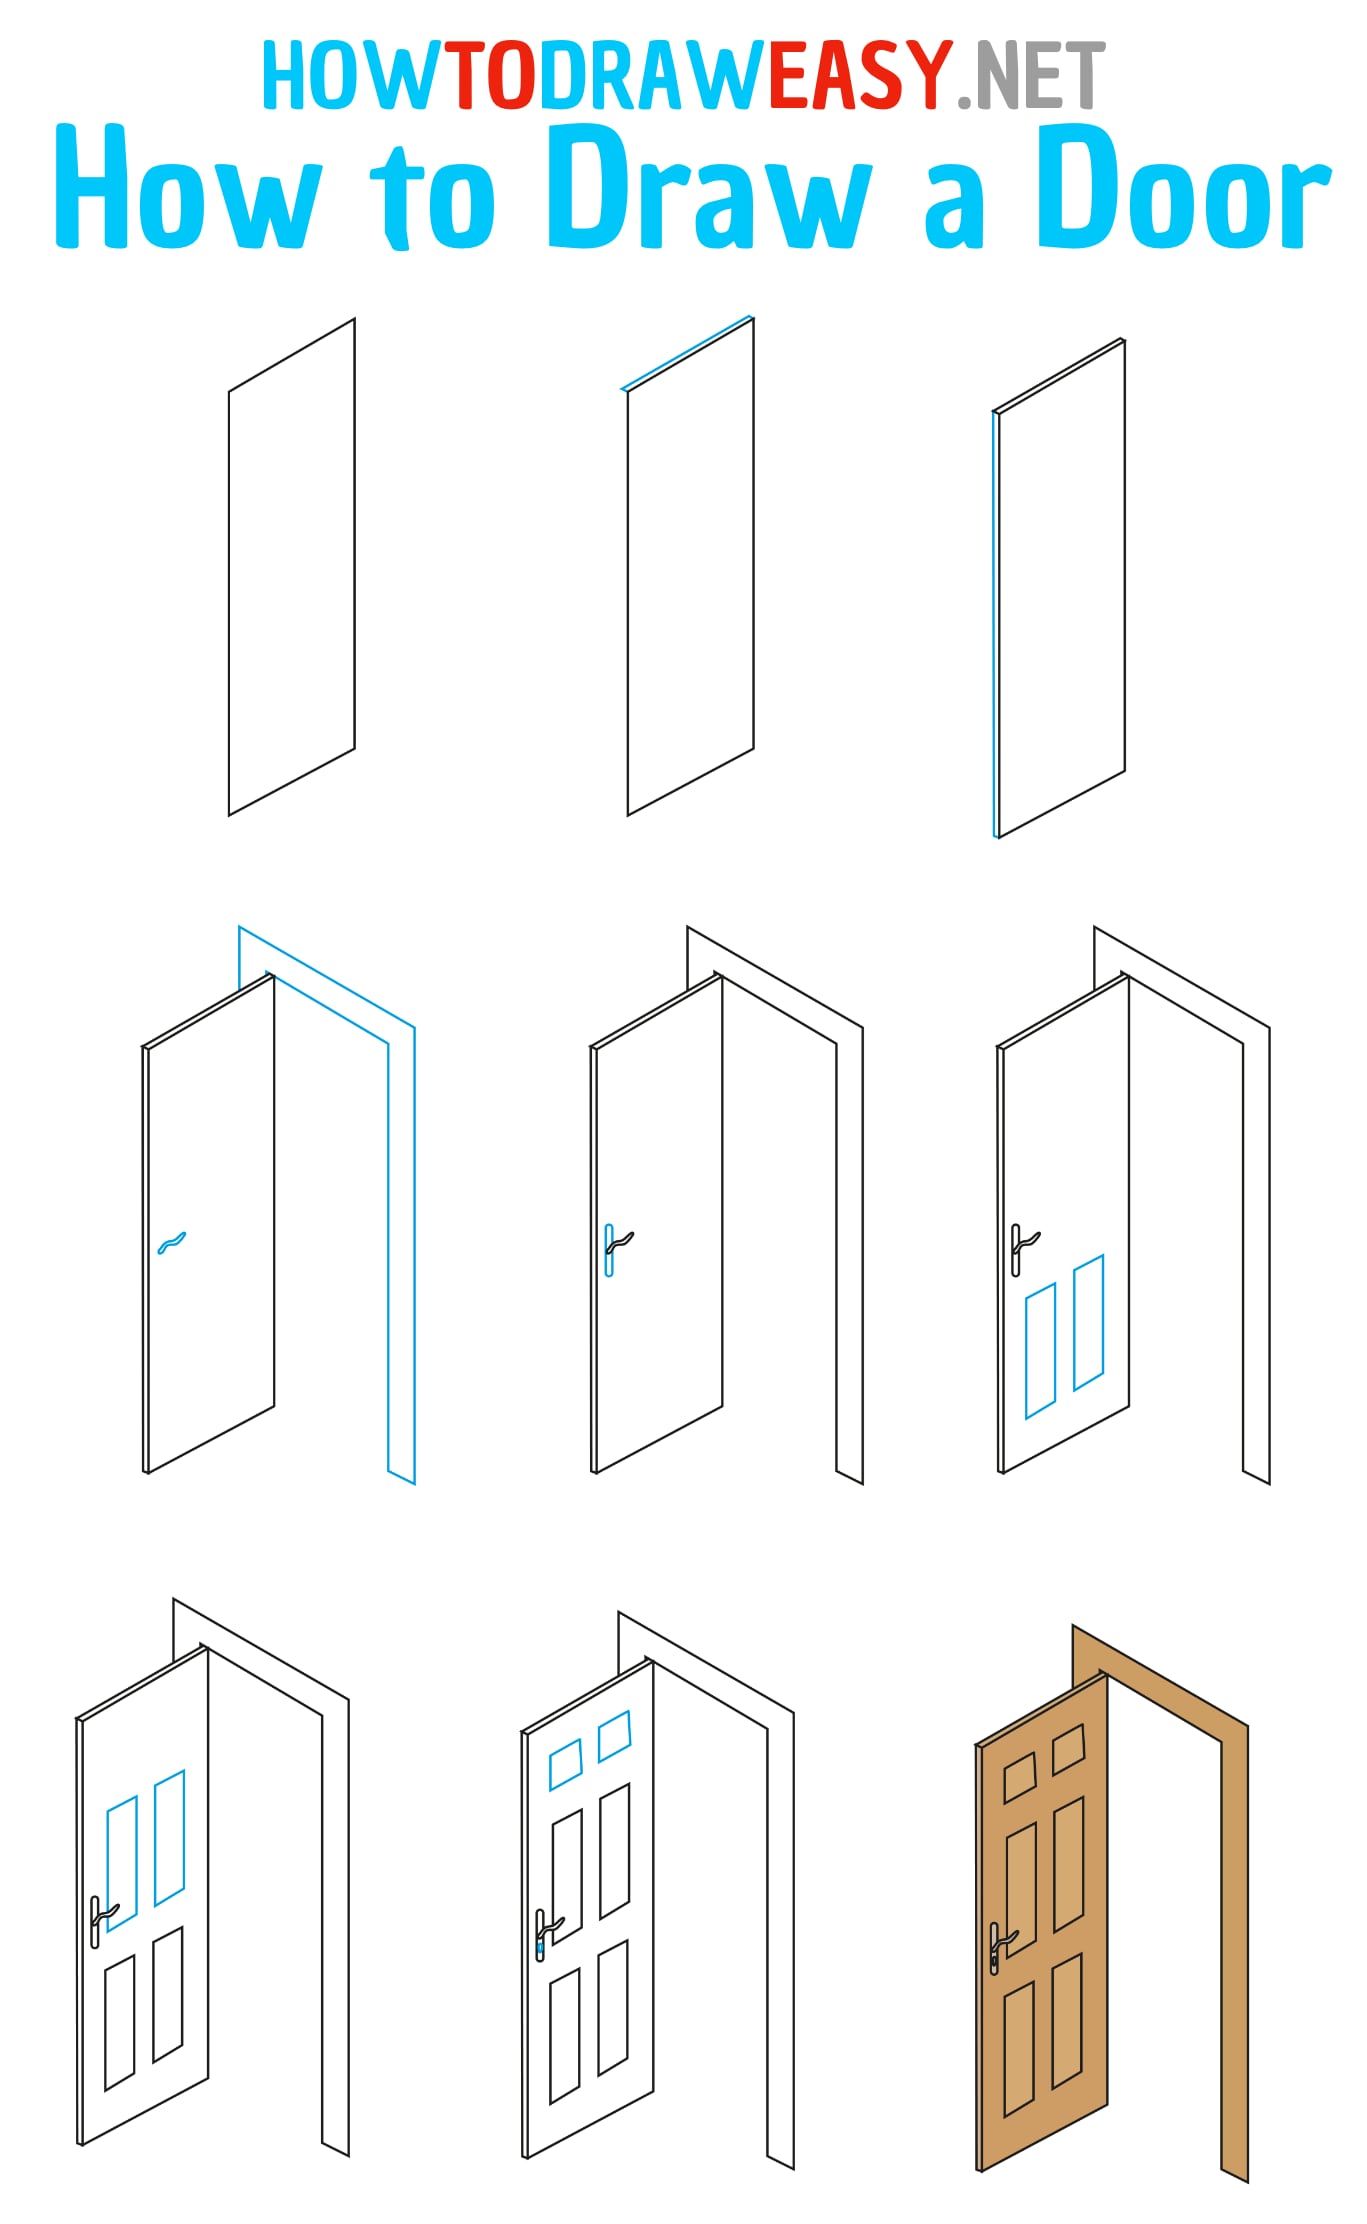
How to Draw an Almond
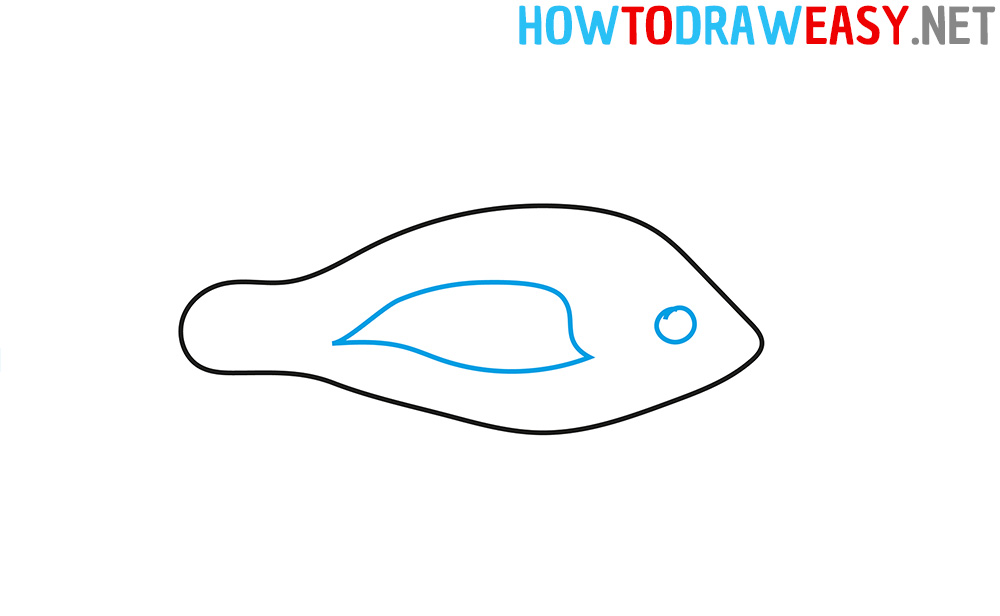
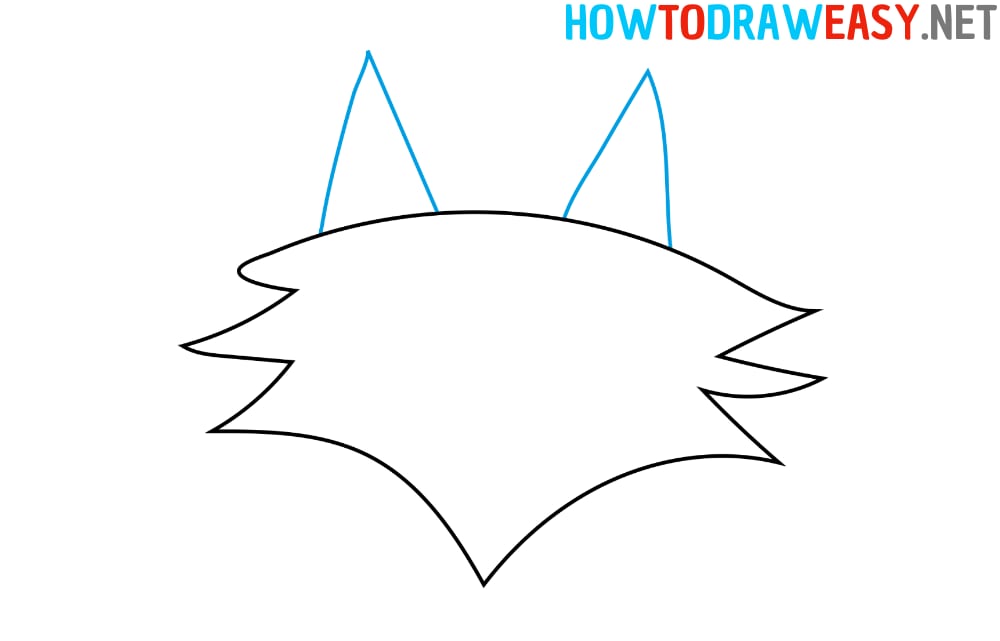
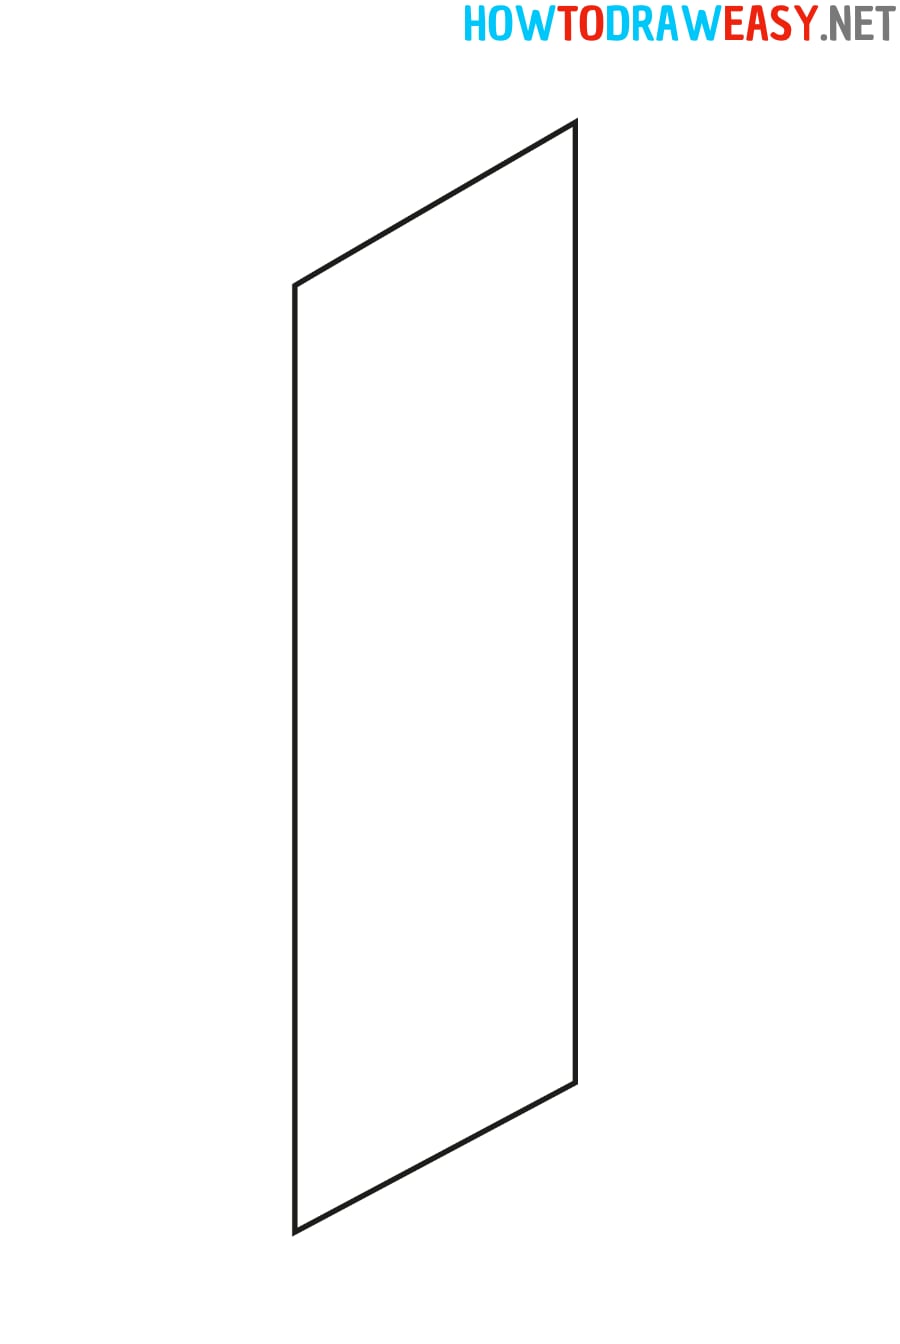
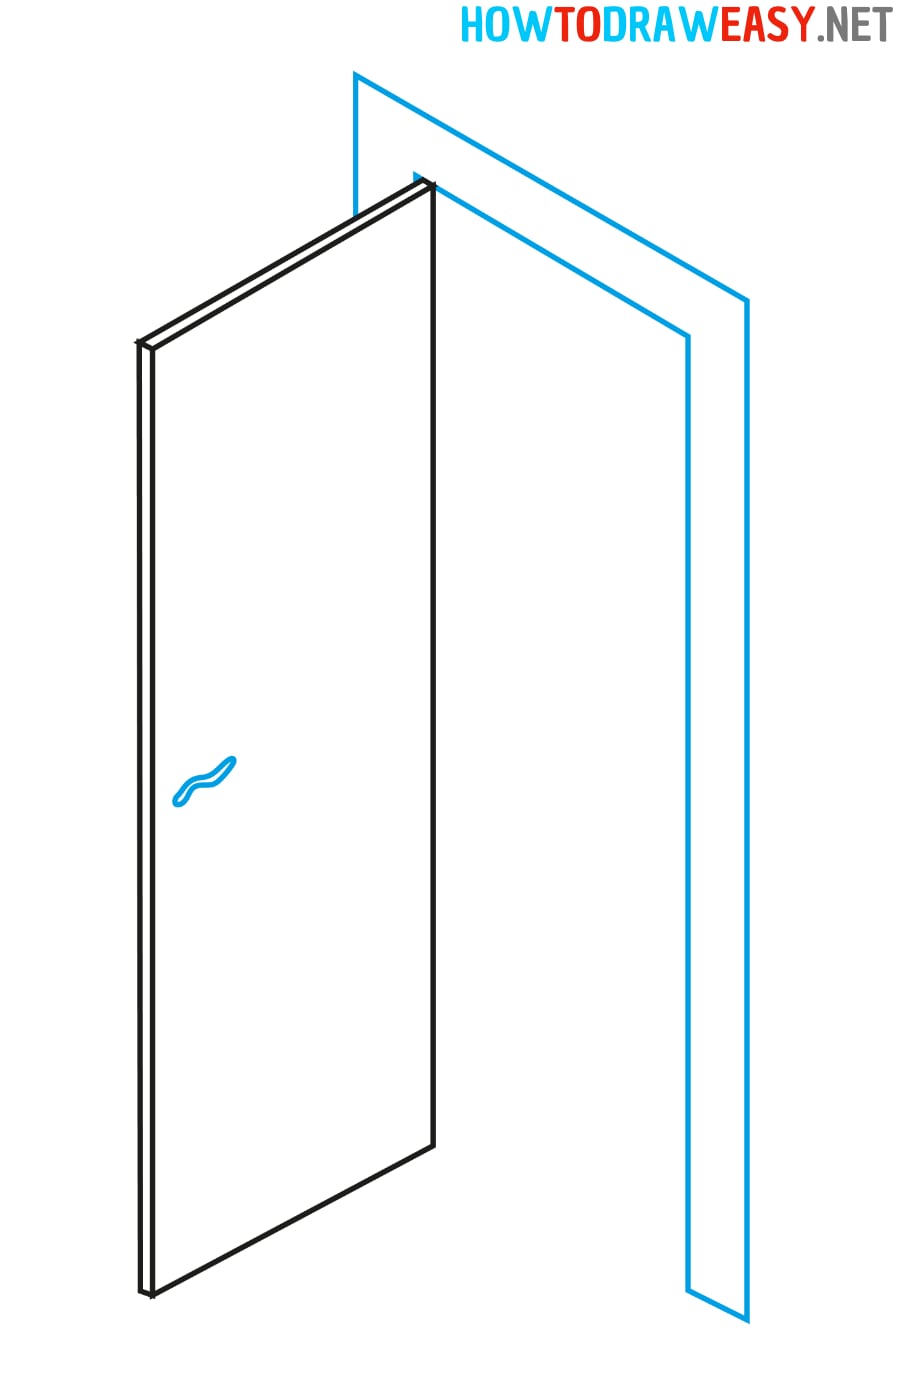
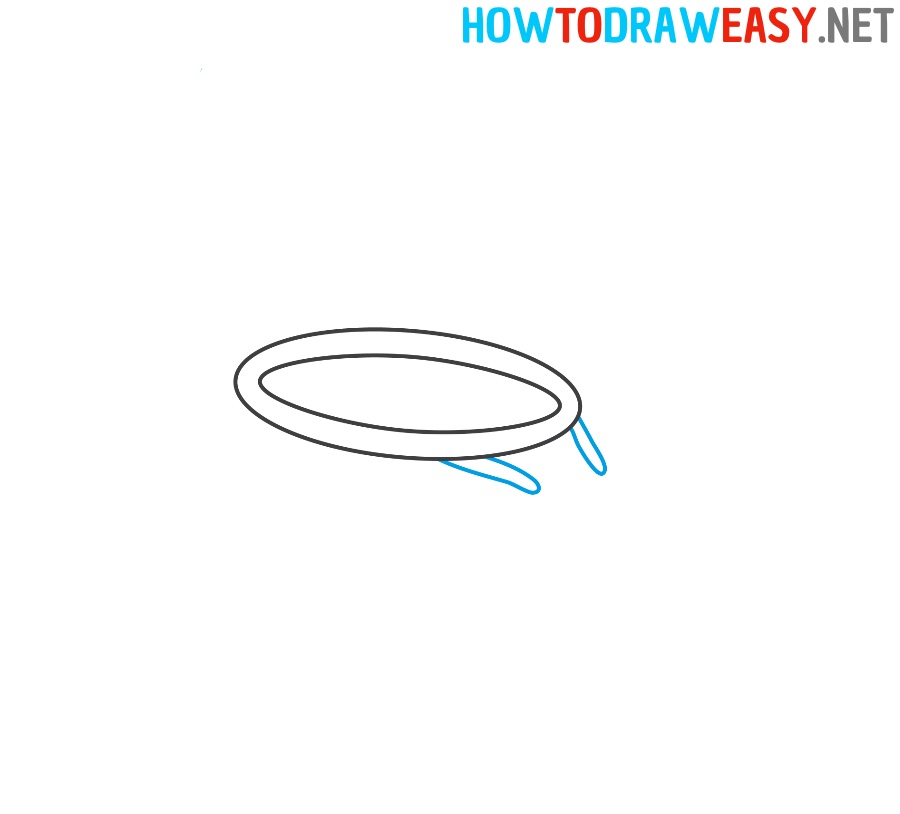
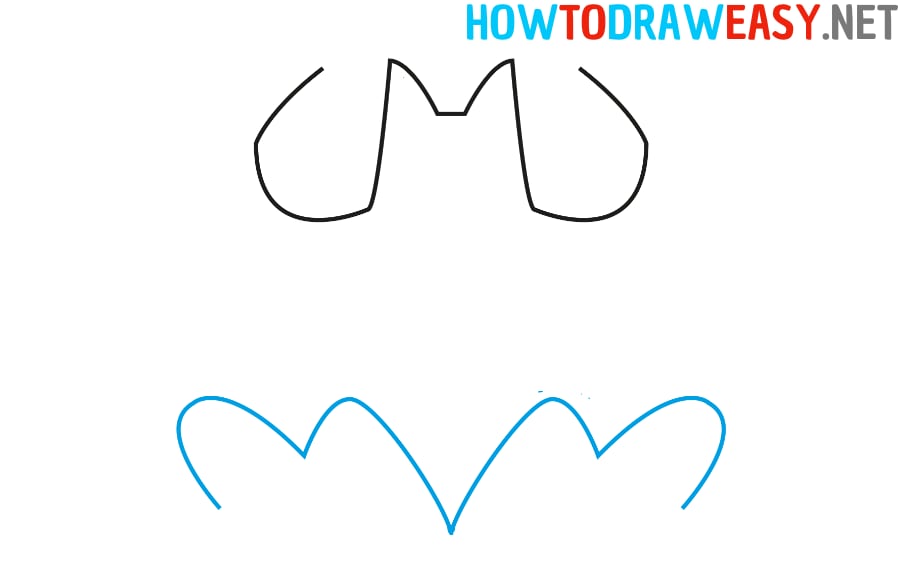
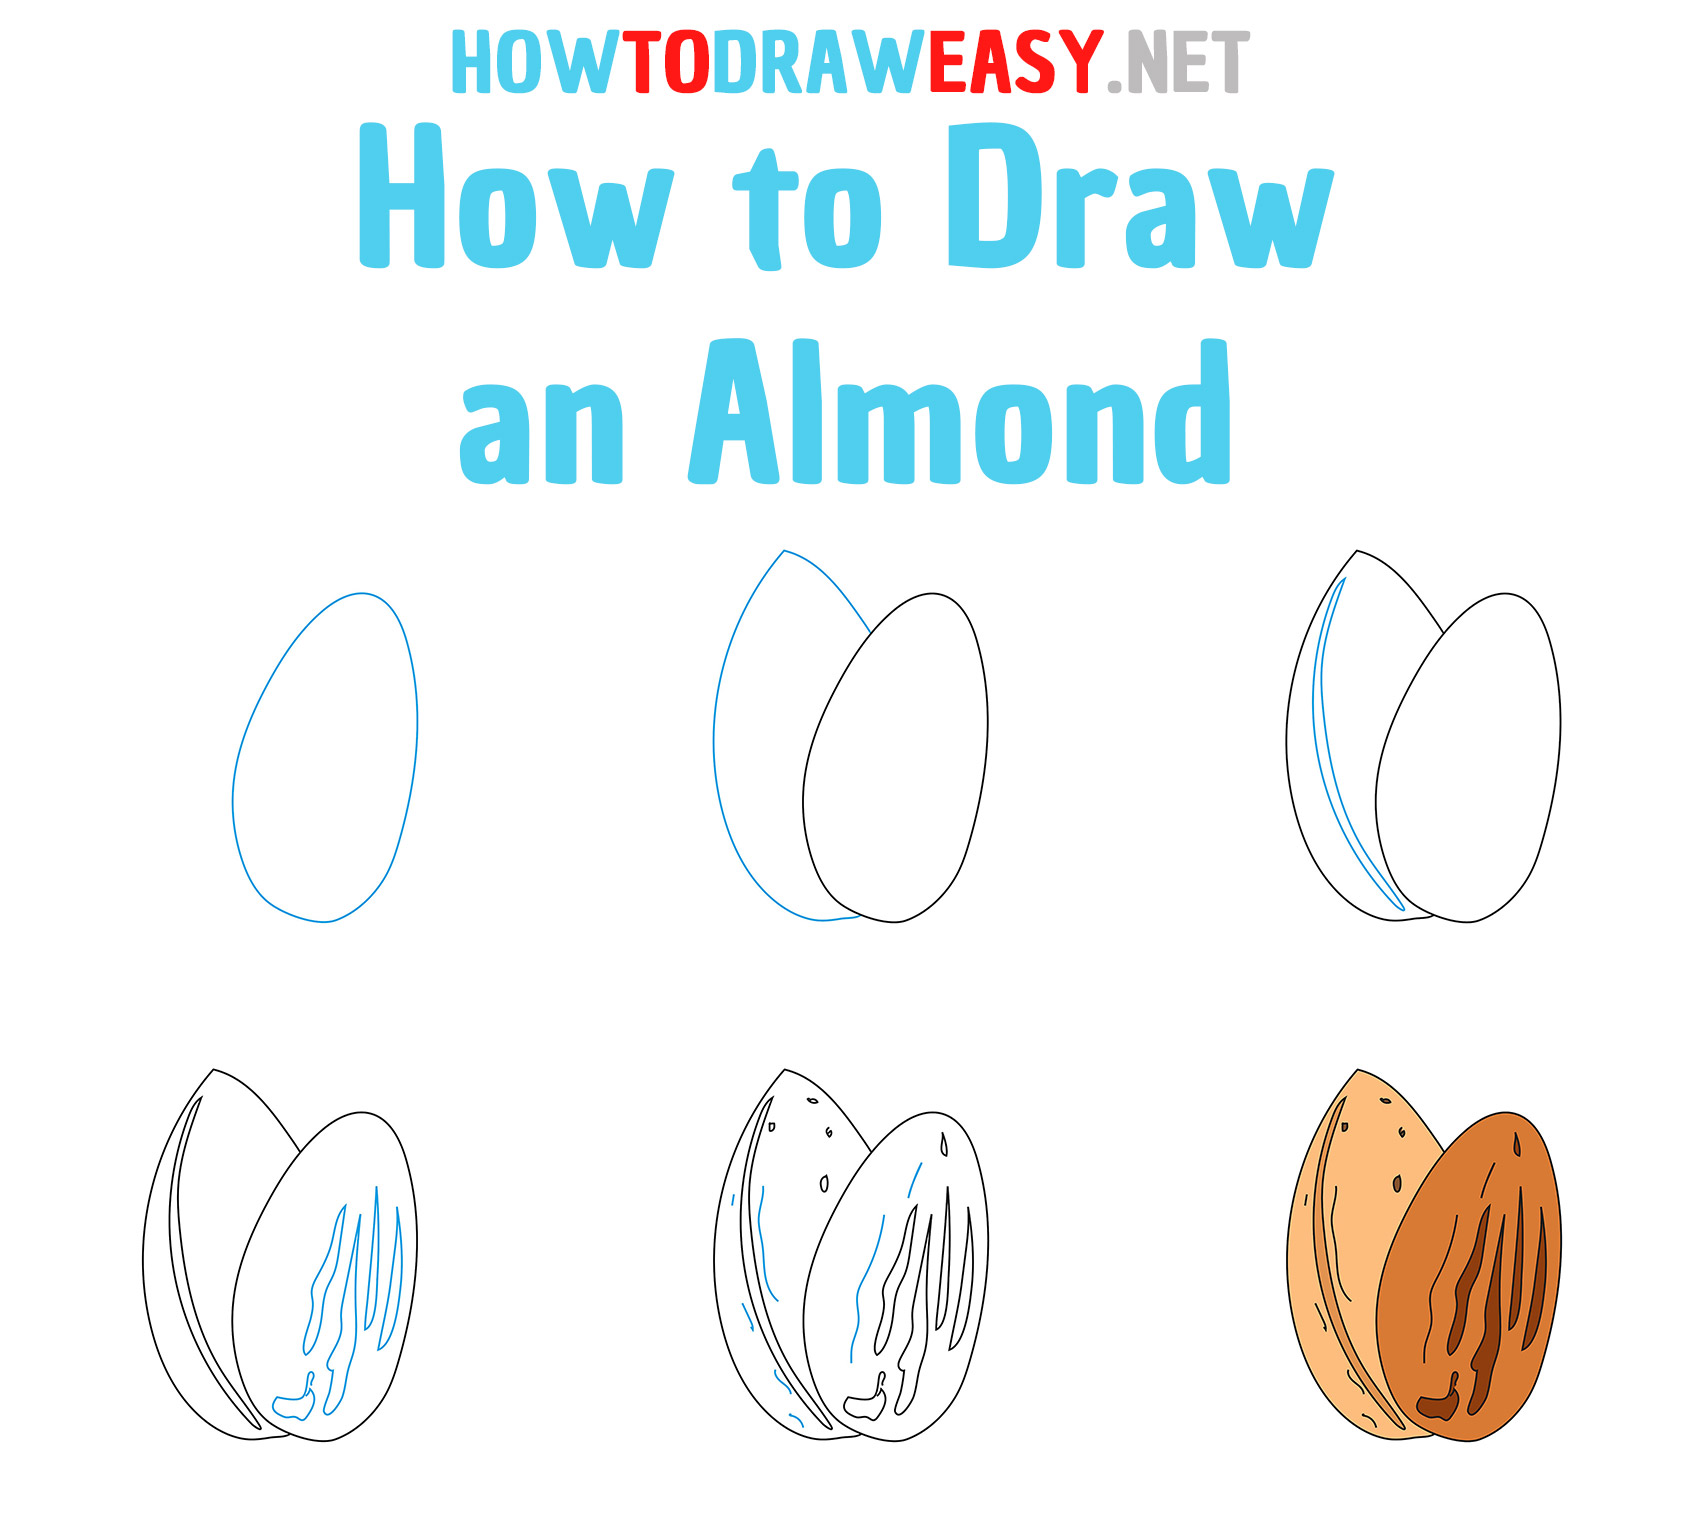
- Draw the outline.
In the middle of the sheet, draw an oval tapering at the top.

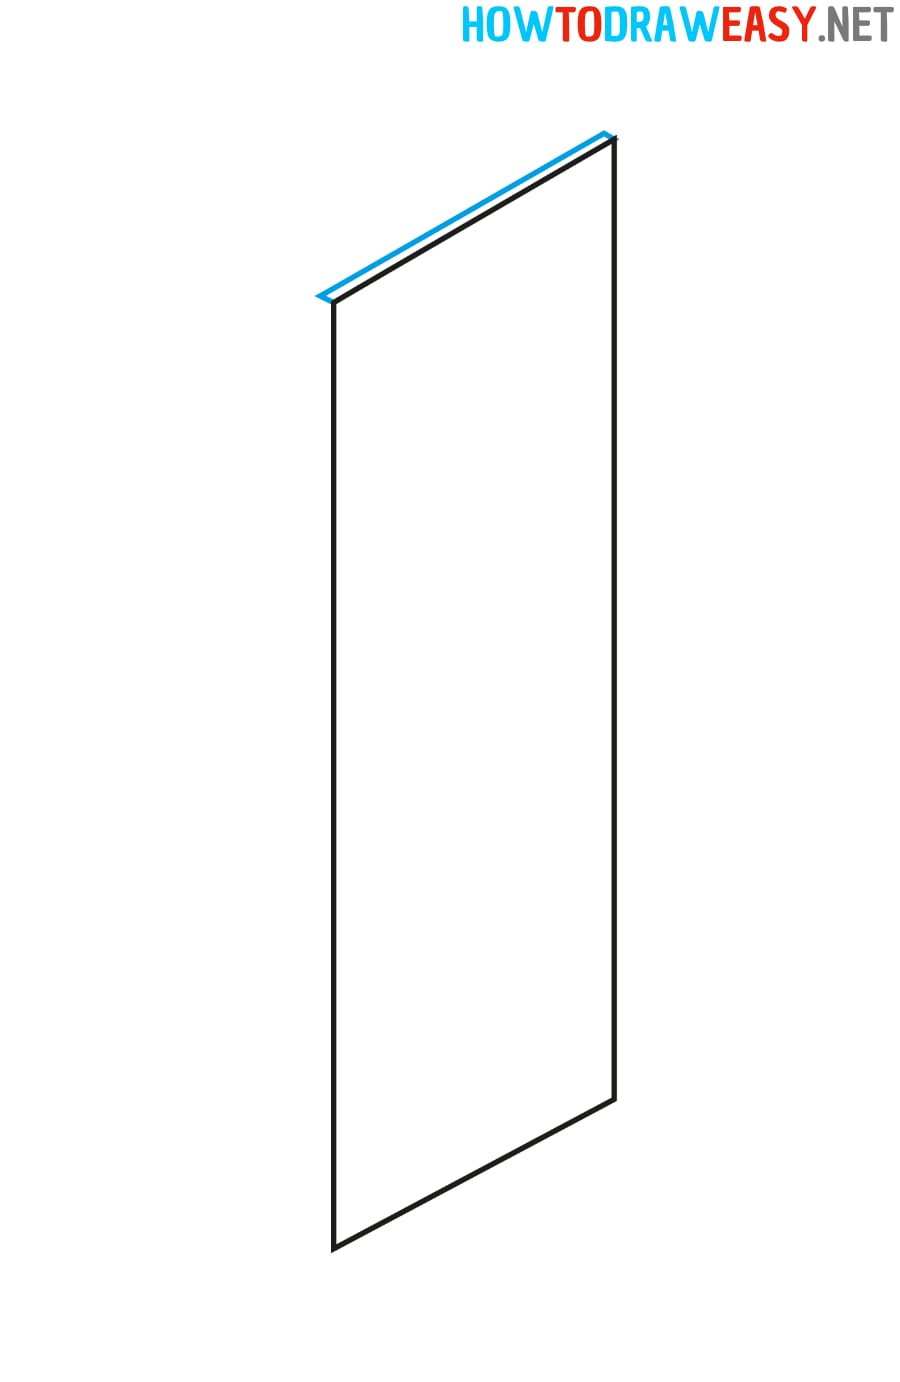
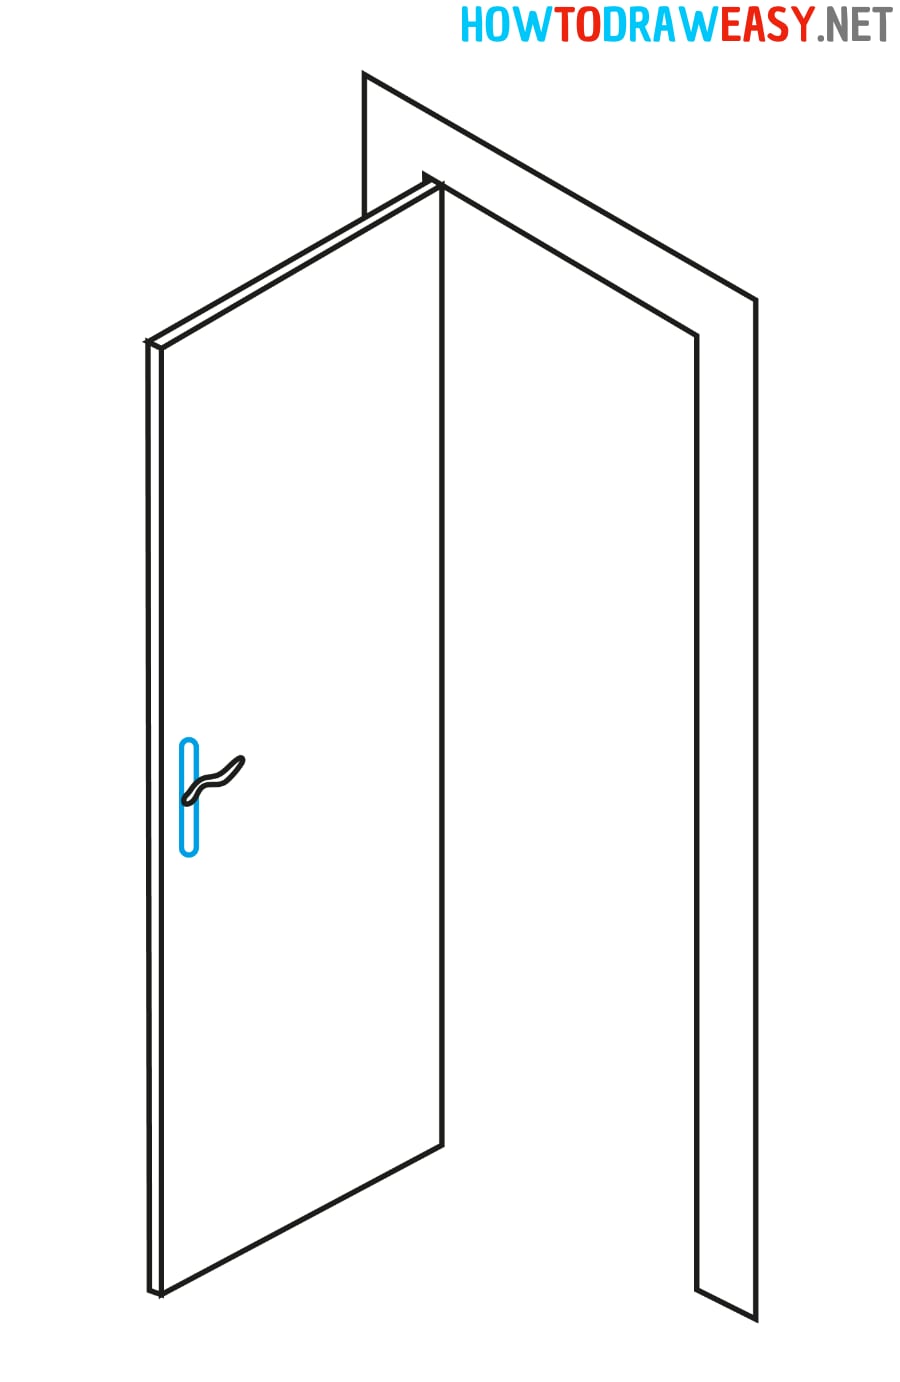
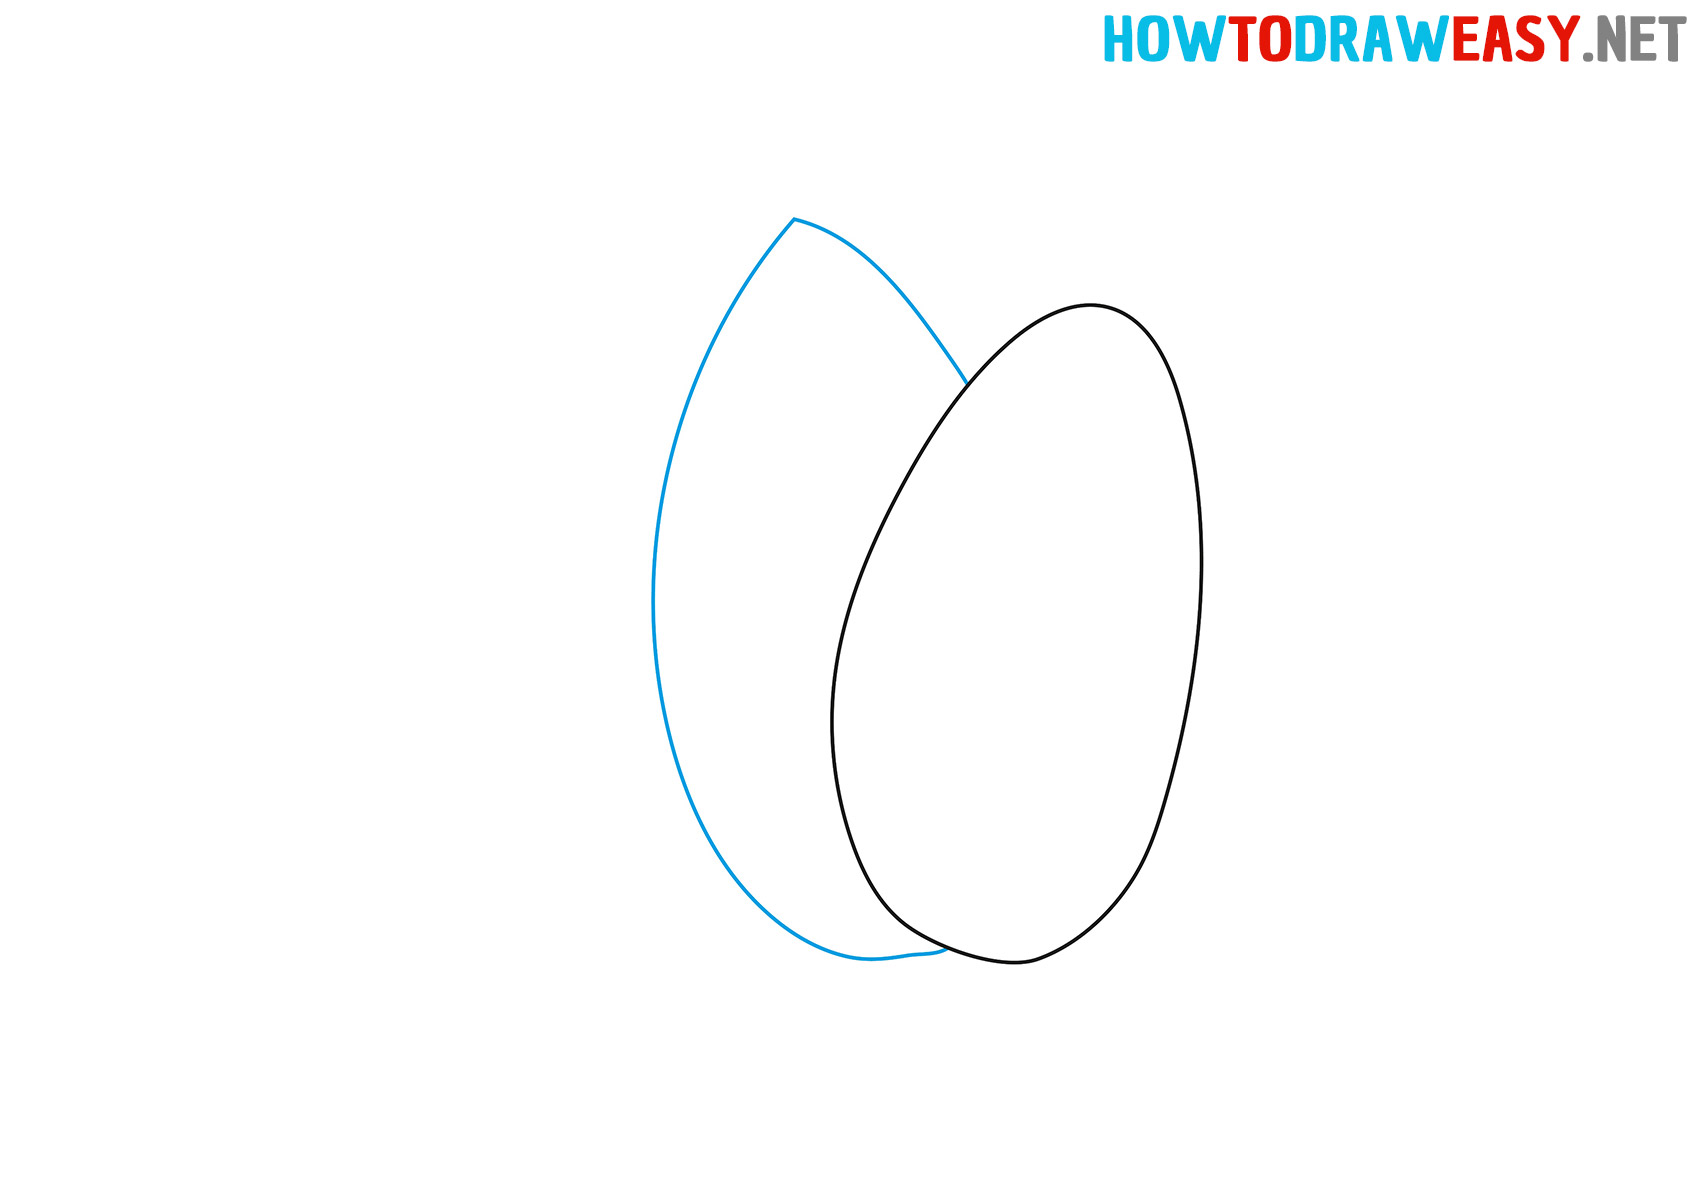
- Draw the outline of the second part.
Draw the other half in the same way, but notice that the upper part is sharper and the right part of the almonds is hidden.
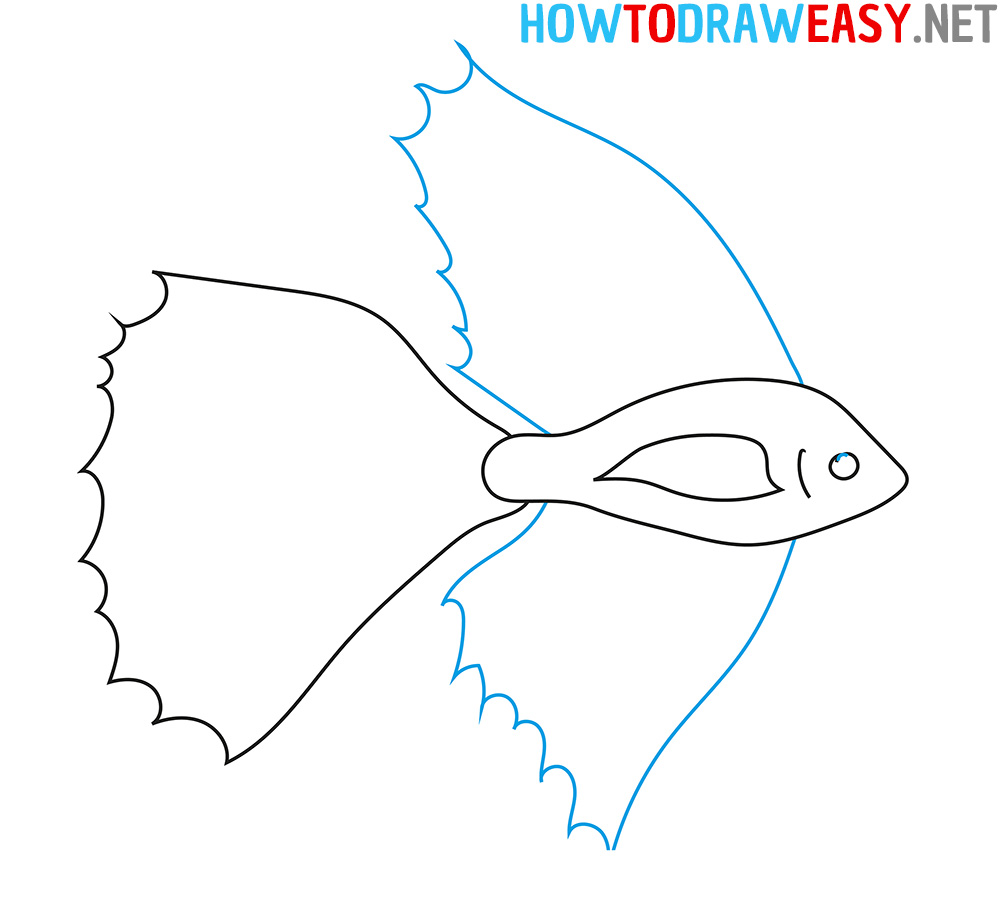
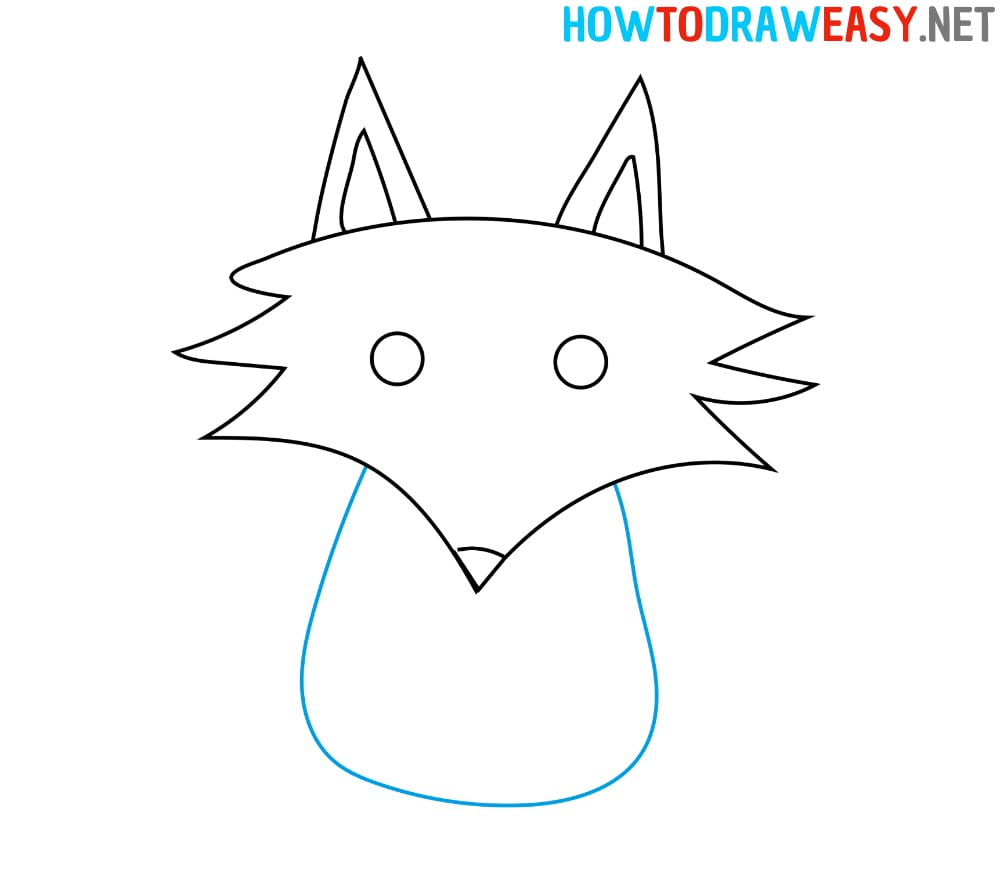
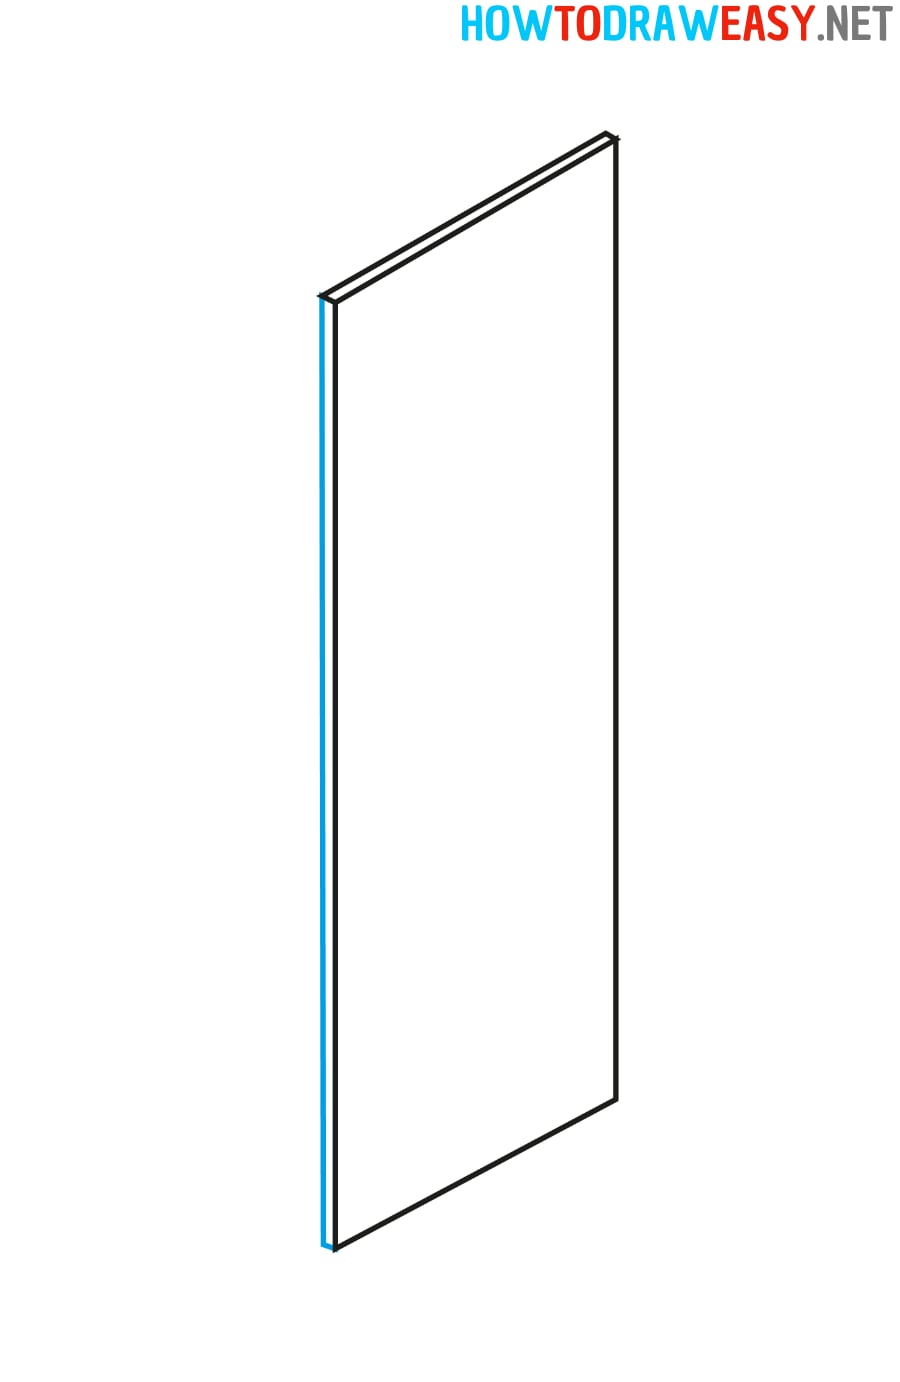
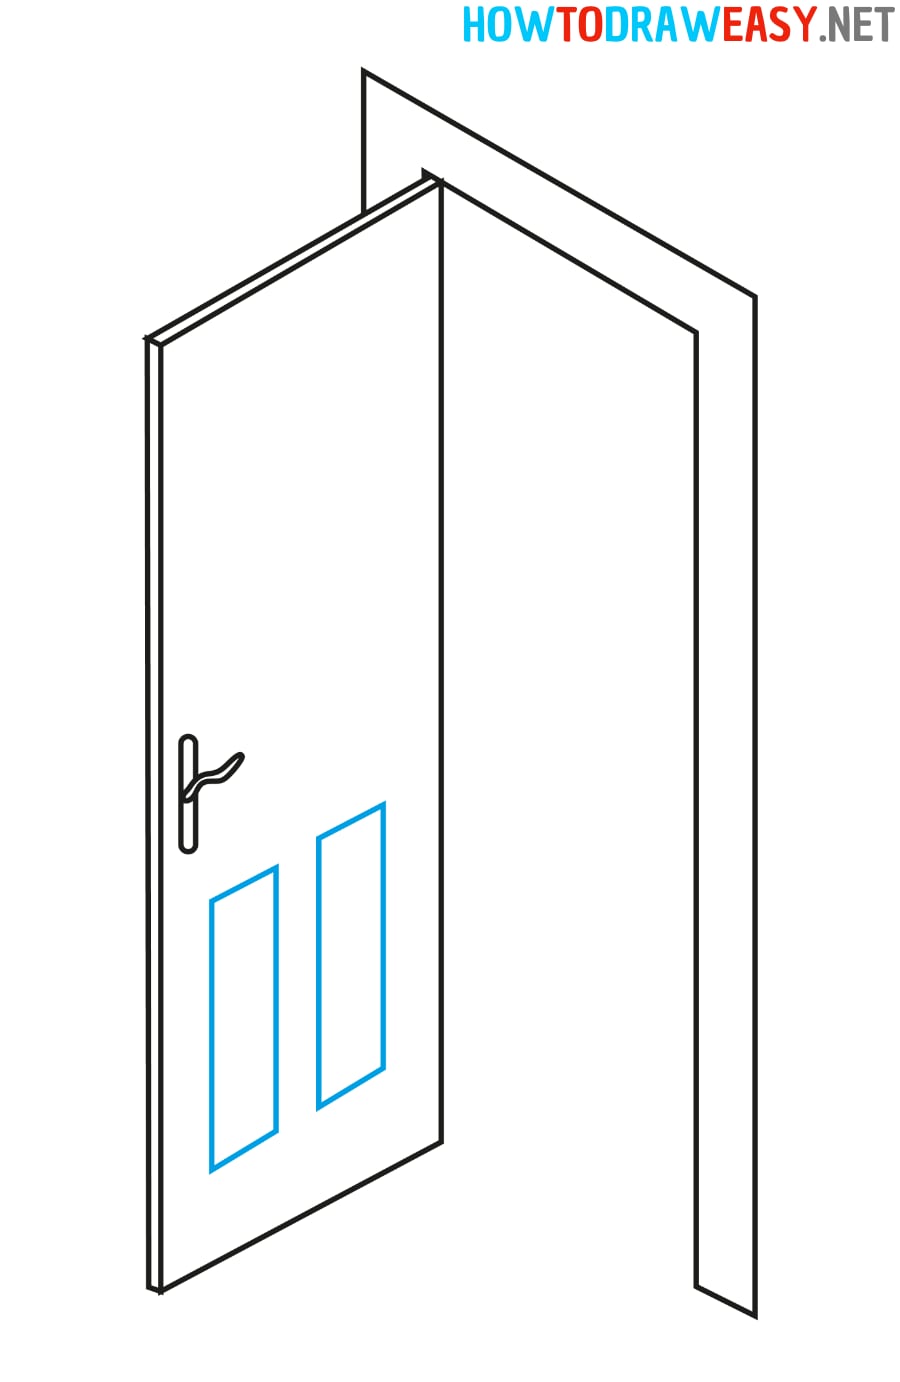
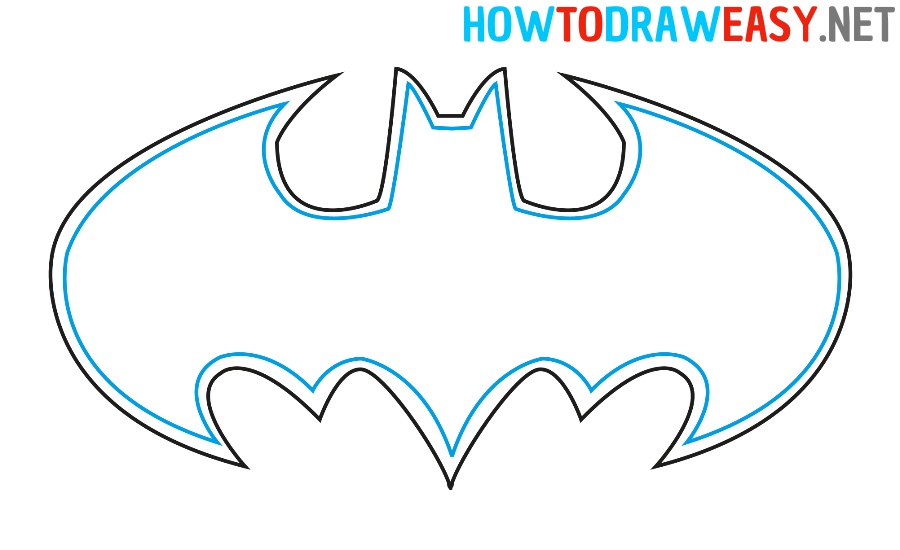
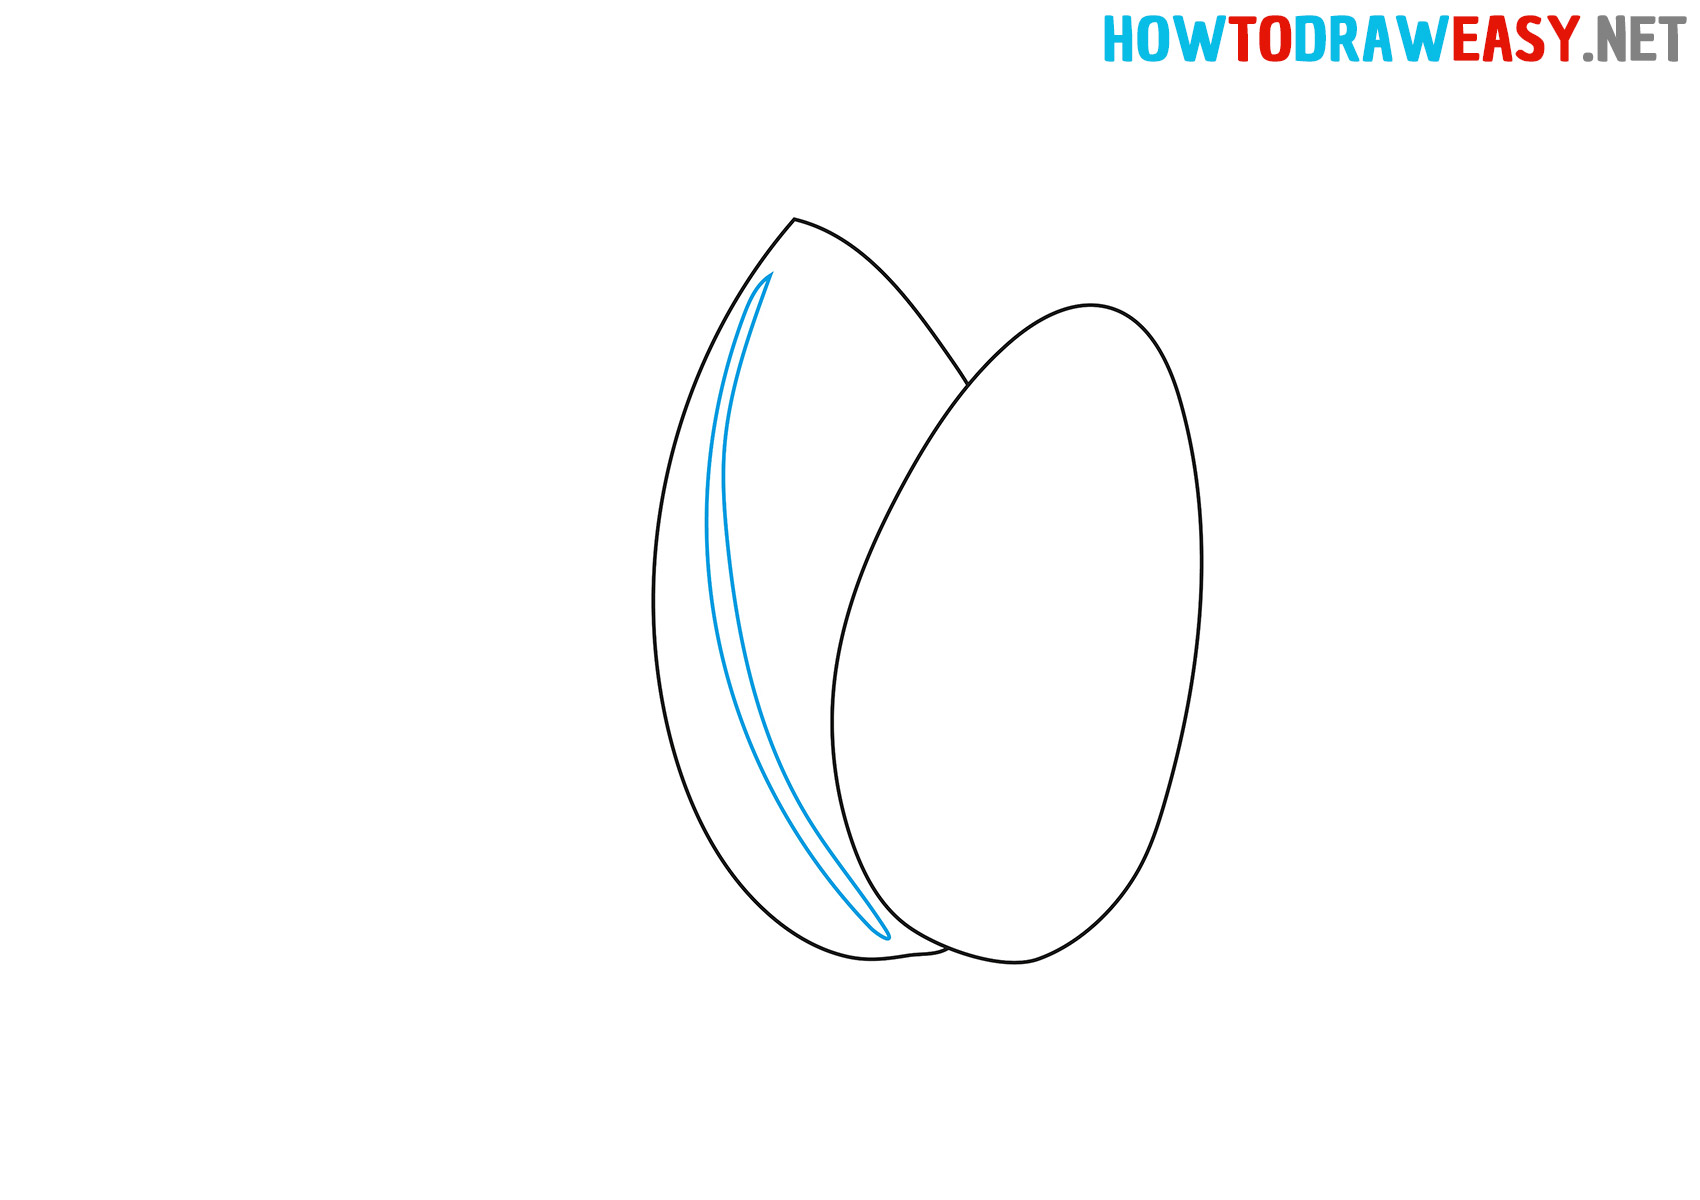
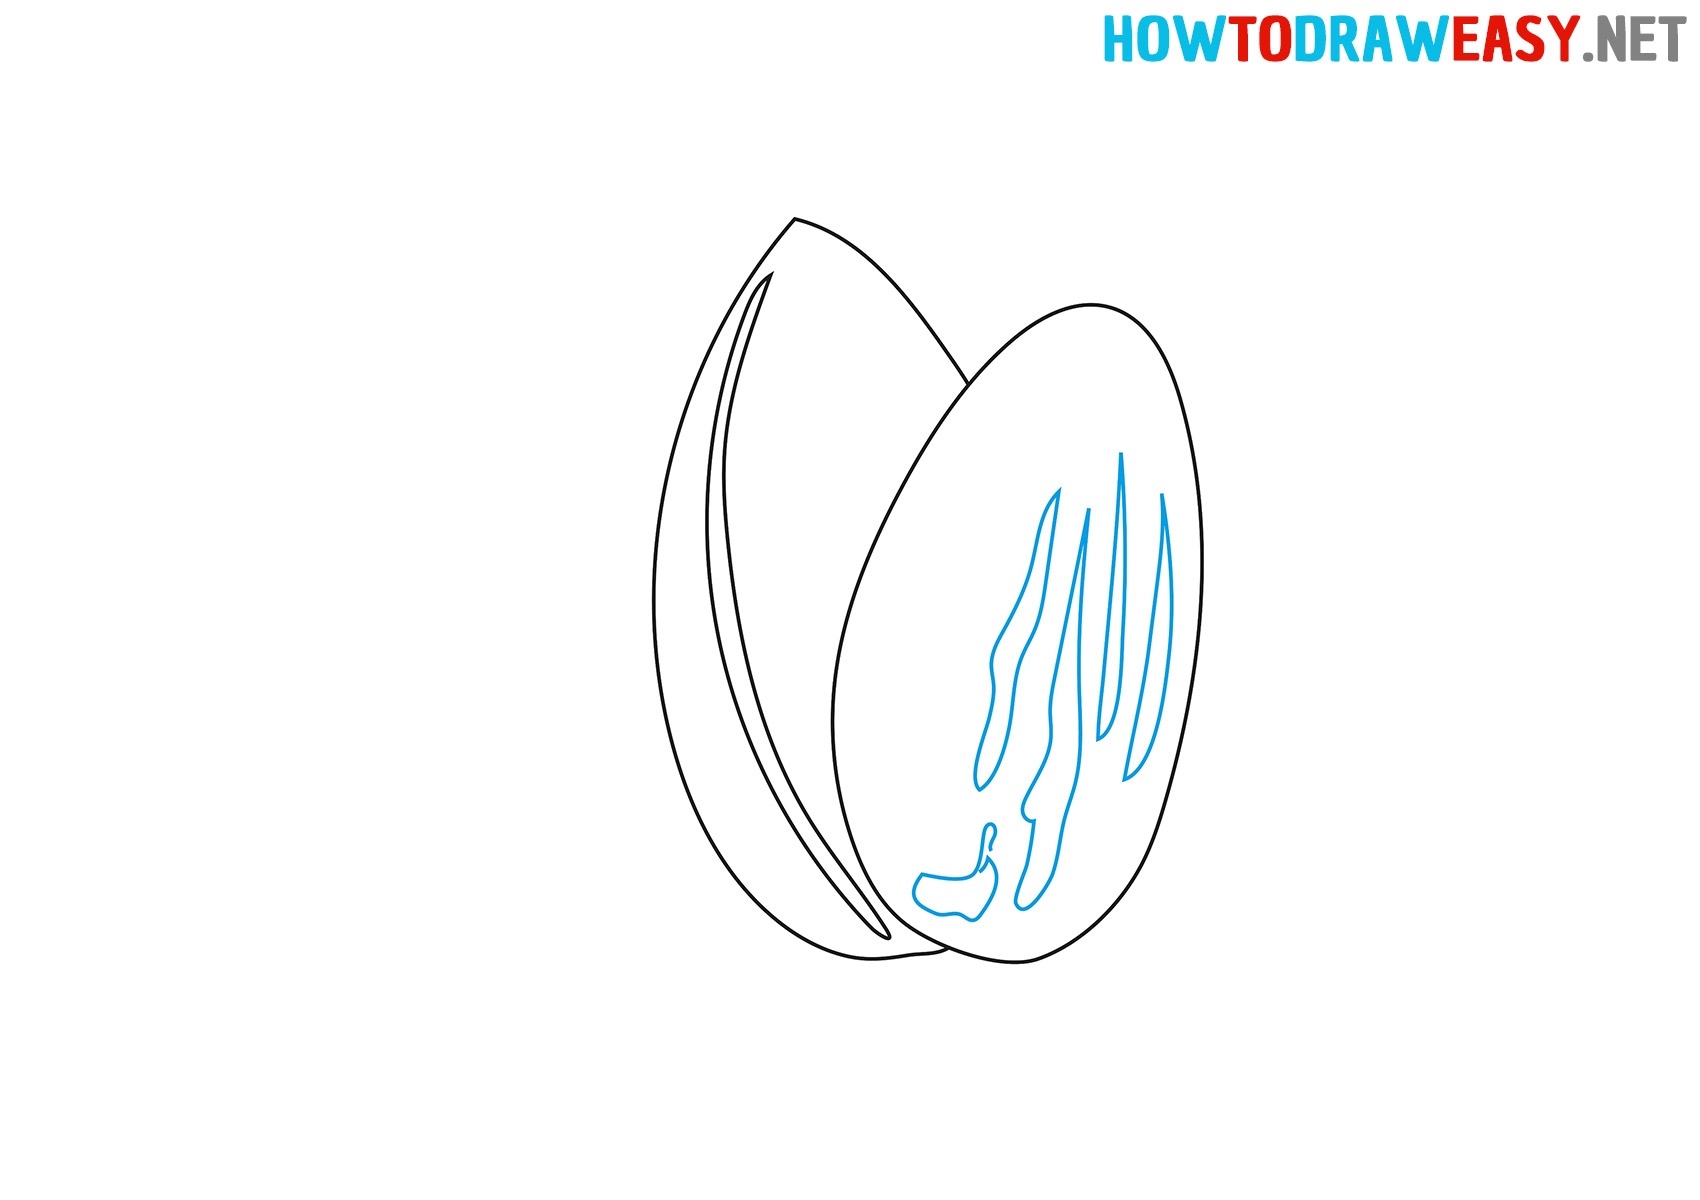
- Draw the texture.
To make the almonds look more realistic, you need to add textures. Let’s start with a vertical chip, for this draw vertical arcs.
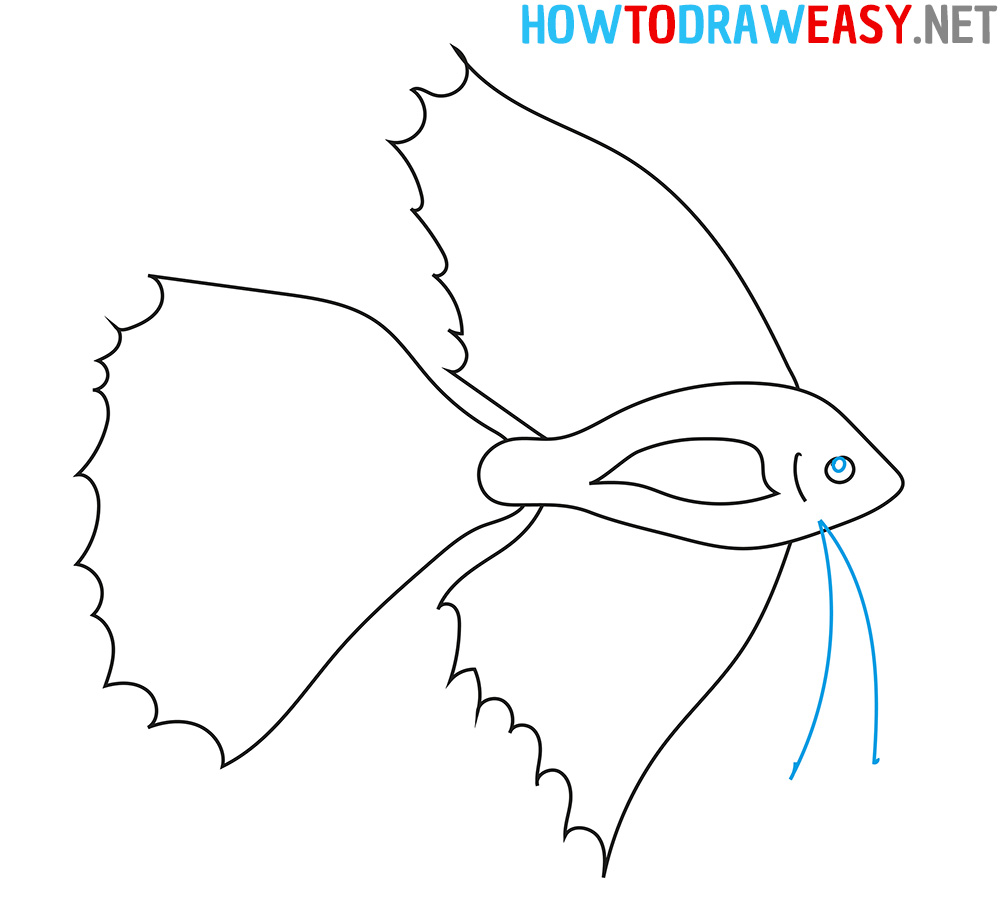
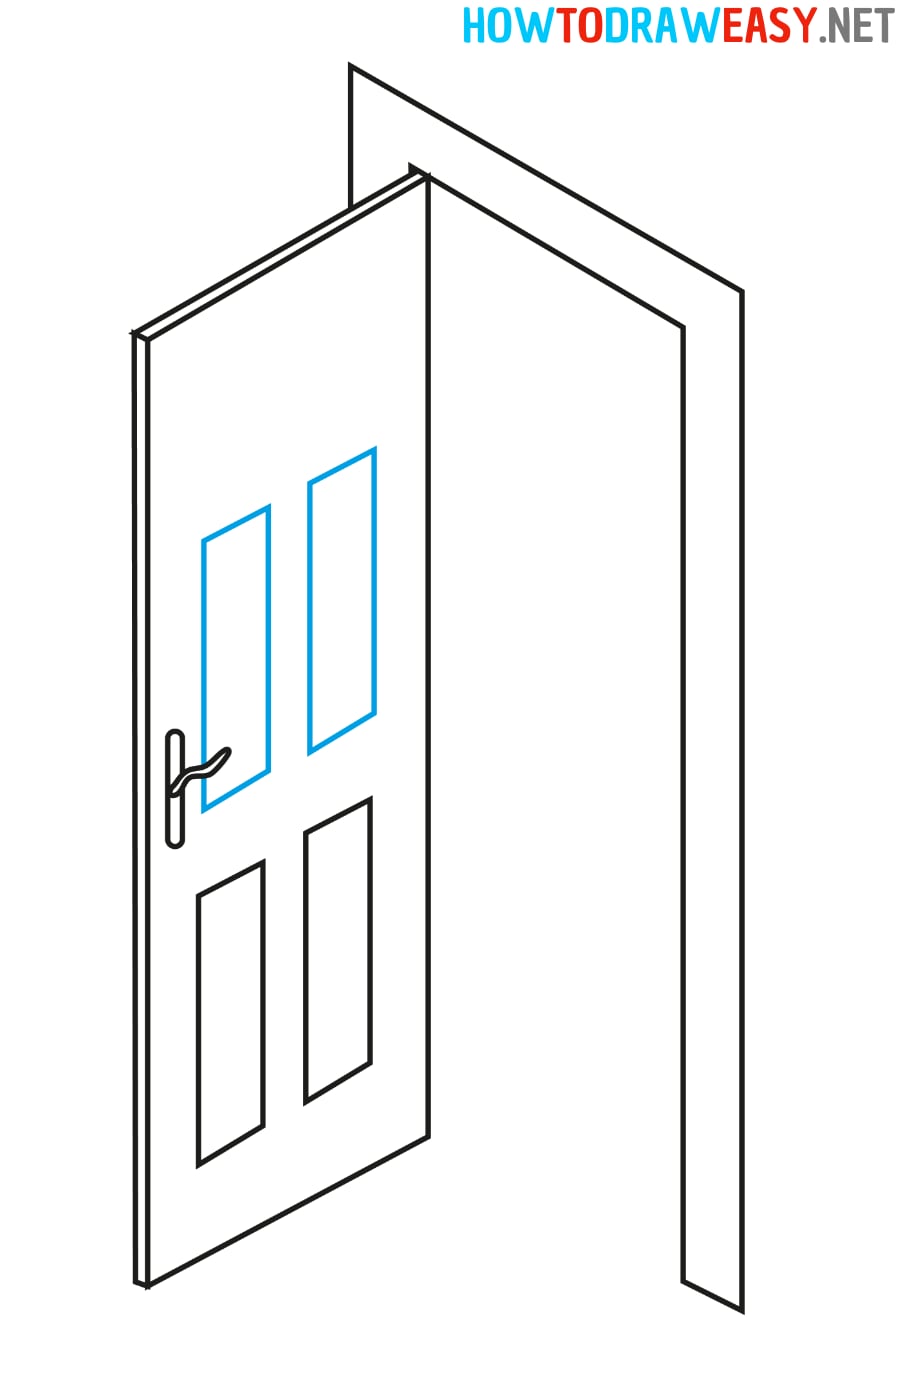
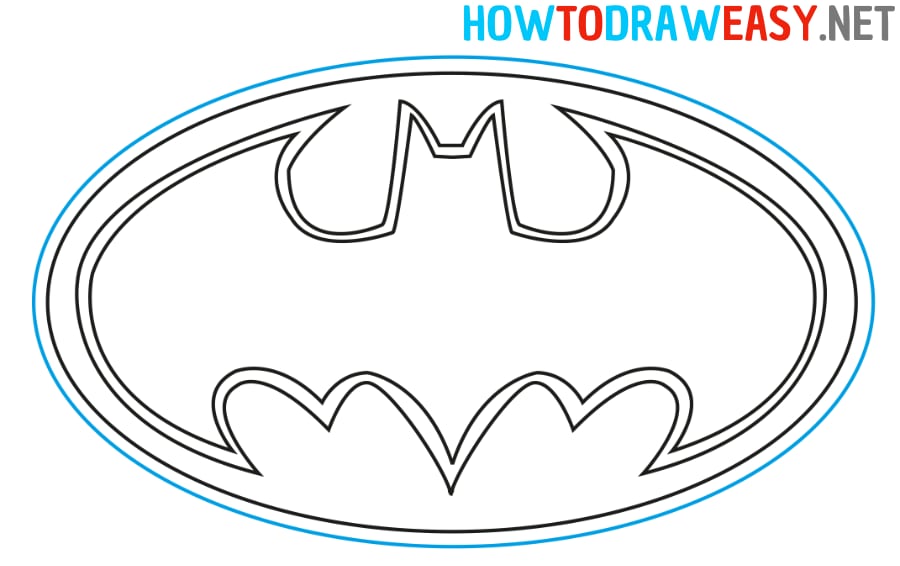
- Add details.
Use wavy lines to add details to the surface of the walnut.
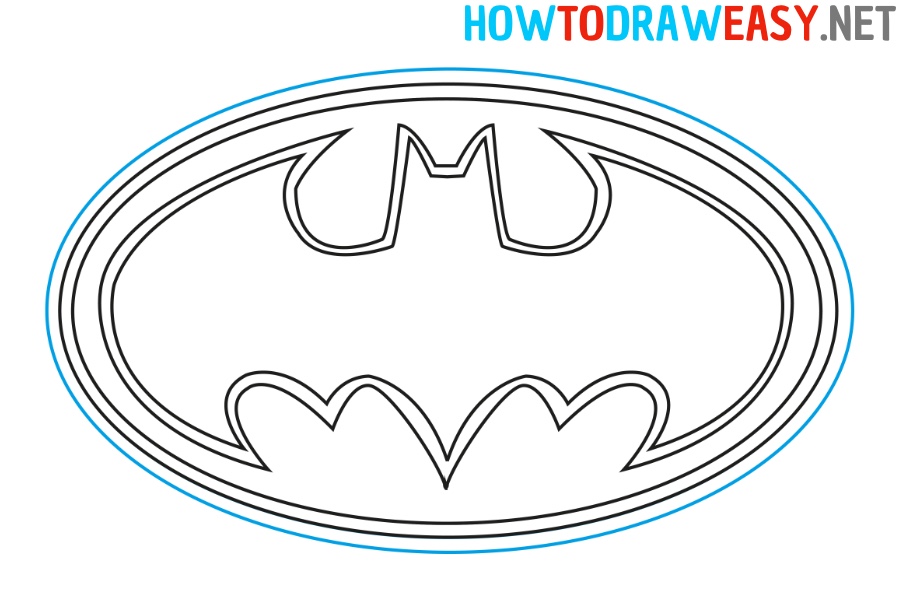
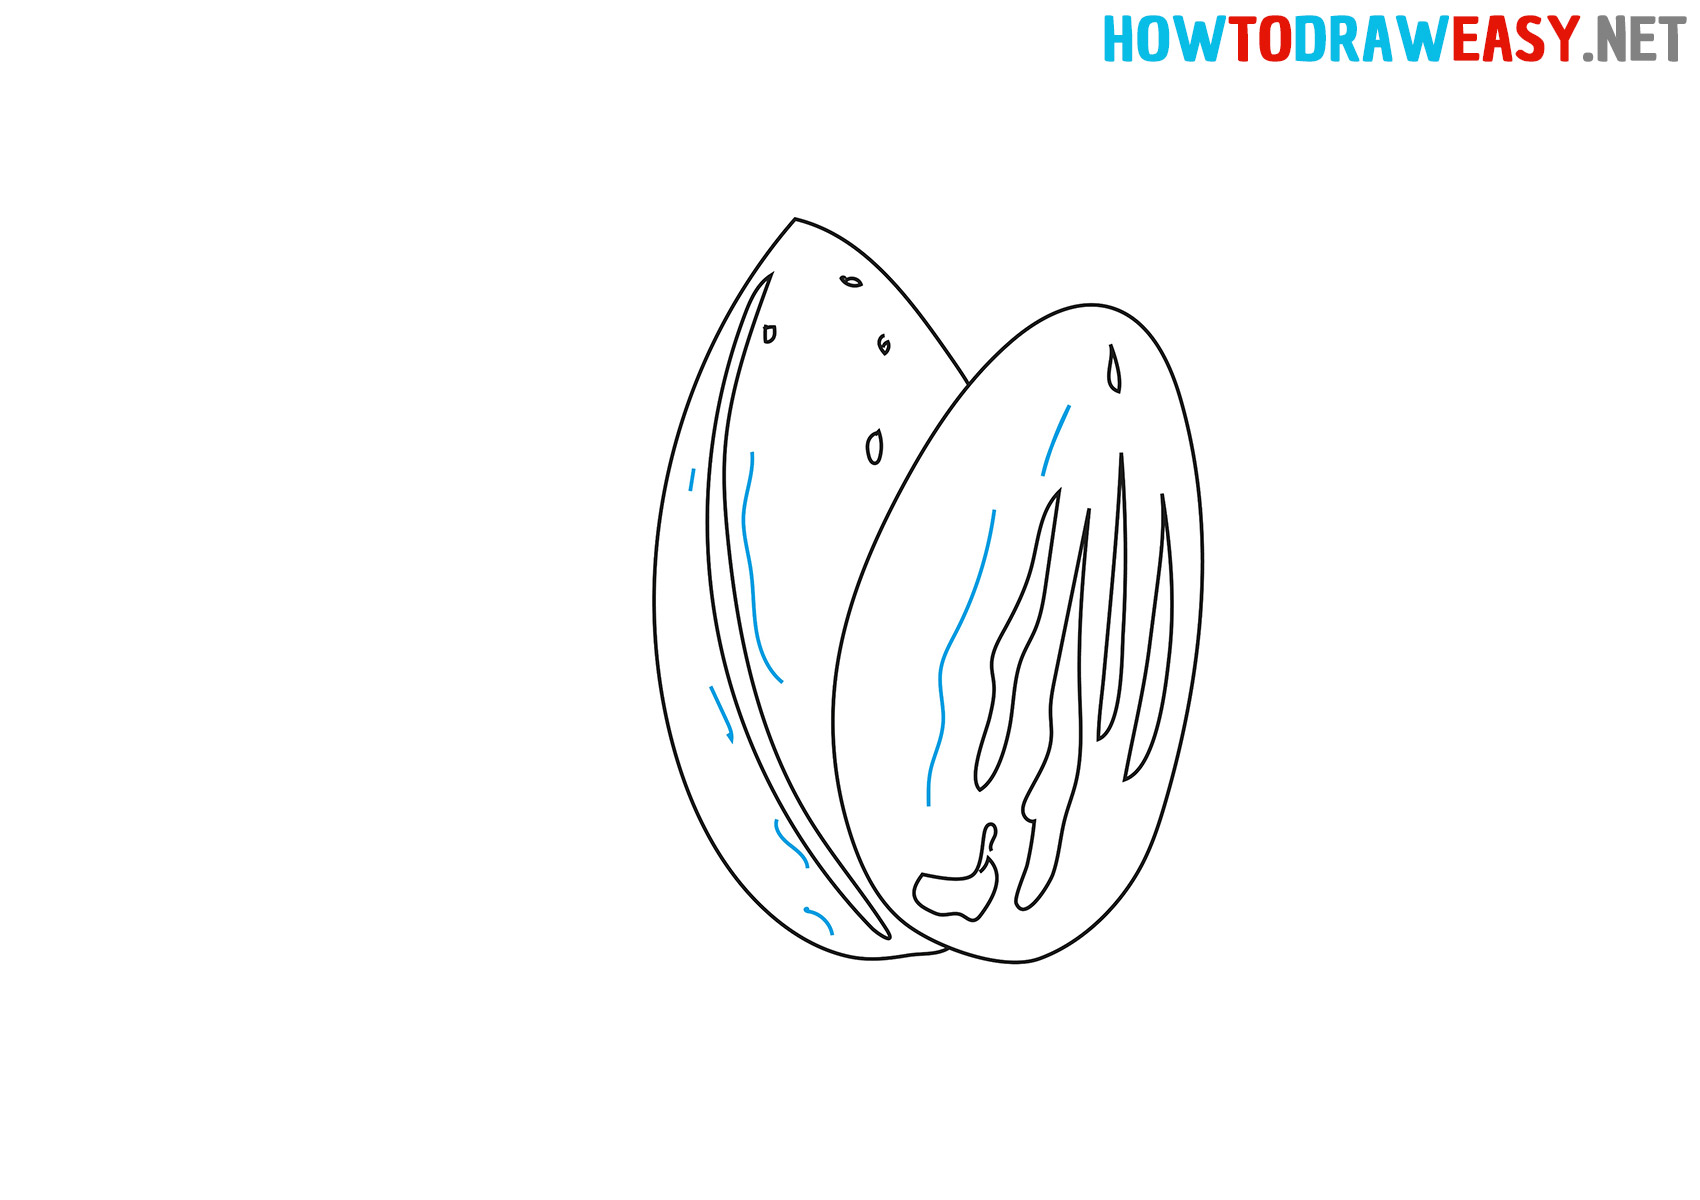
- Add more details.
Add more small details as shown in the example instructions.
- Color the drawing.
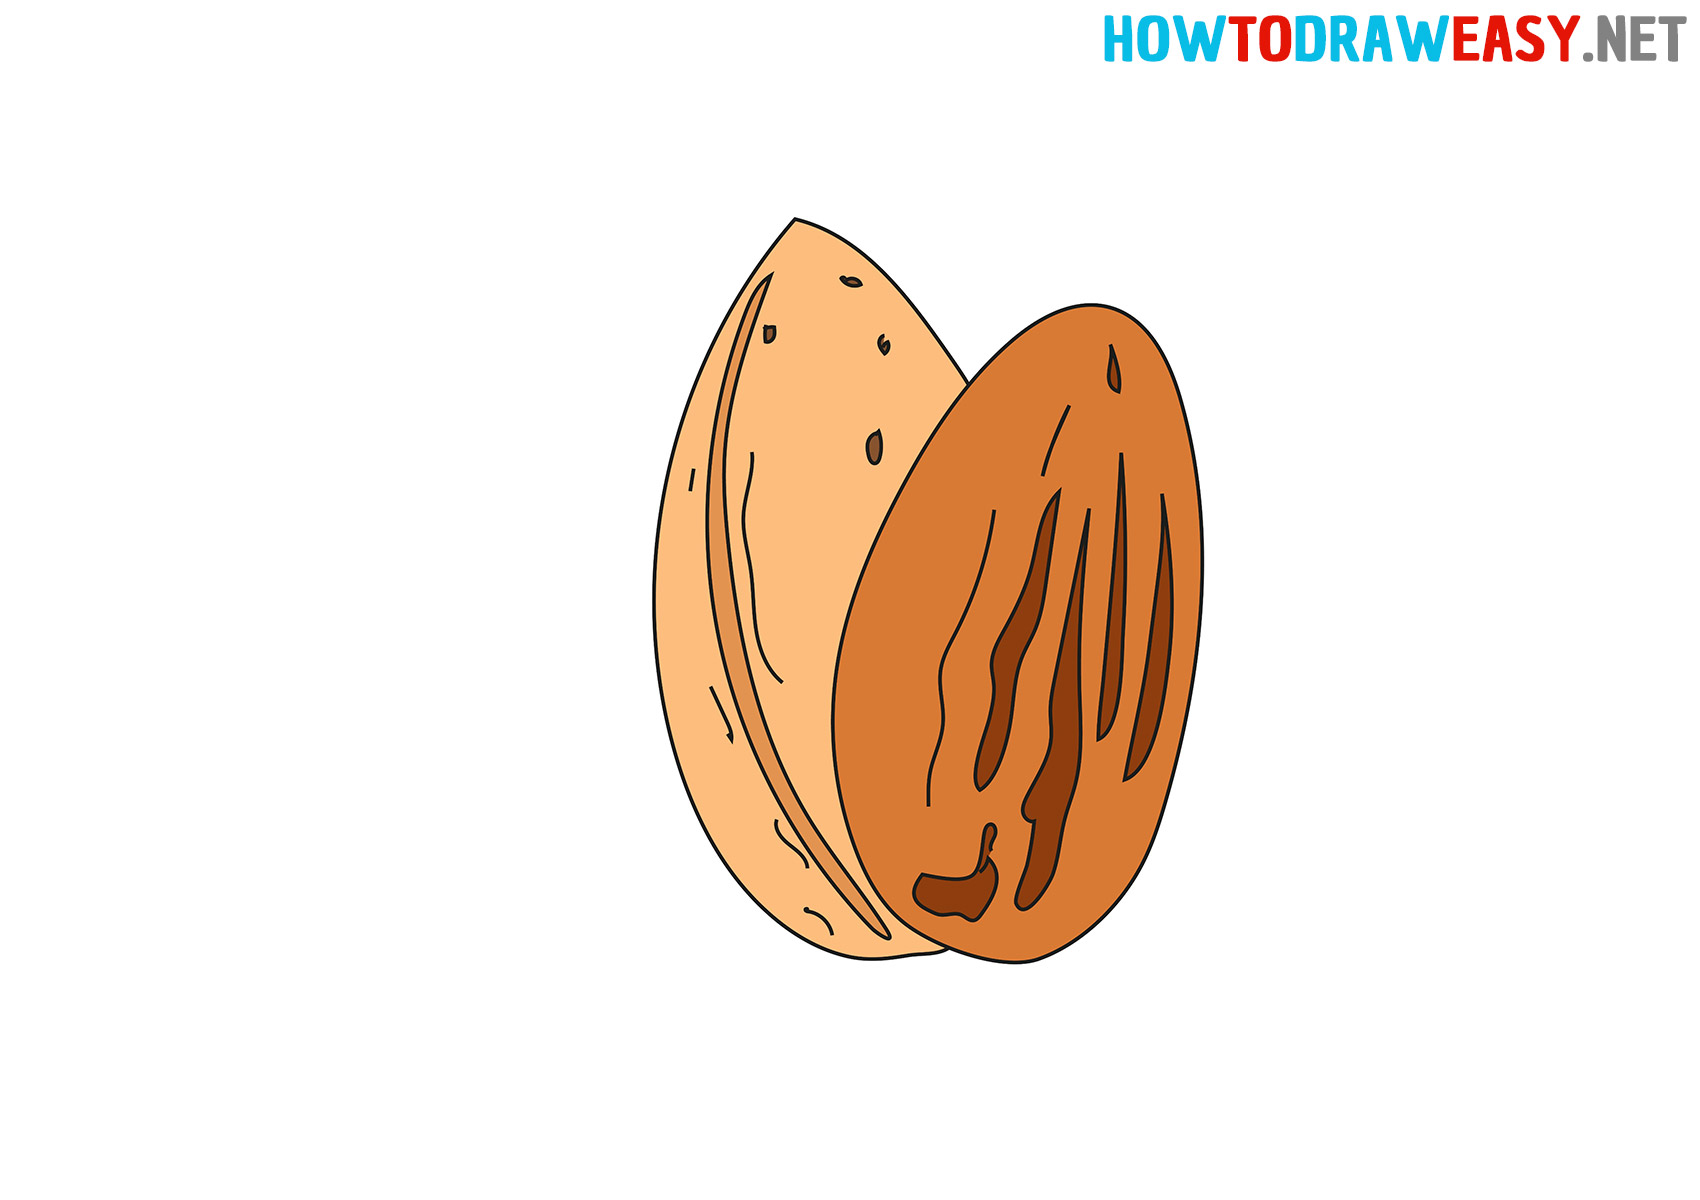
We hope that this was a useful and informative lesson for you. Be sure to show your new drawing to friends and family. We also recommend that you familiarize yourself with other drawing lessons.
The post How to Draw an Almond appeared first on How to Draw Easy.